- All Posts
- News
- Projects

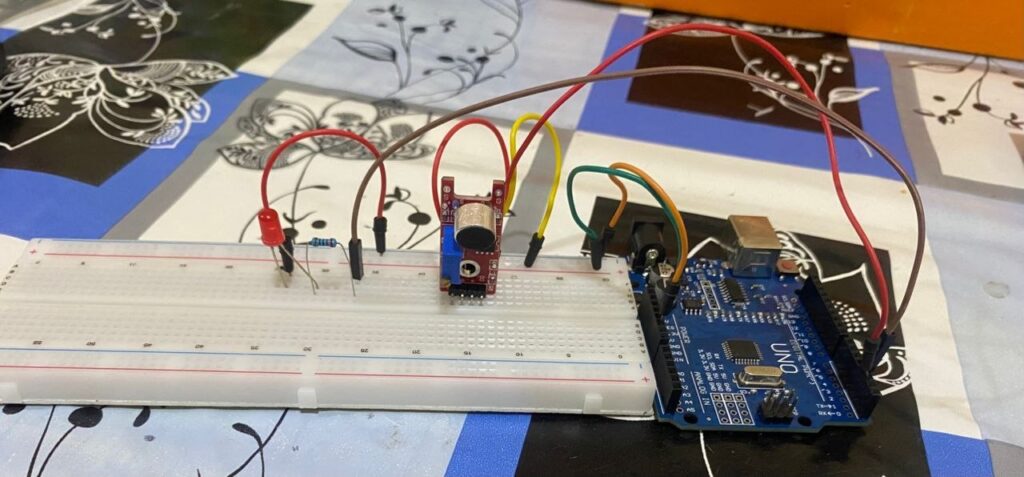
From ₵5000 to the Robotics Arena – Our GRC Journey Begins When we first heard about the Ghana Robotics Competition (GRC -2025 ), we were excited — but also a bit overwhelmed. The competition sounded huge: universities, high schools, and junior teams from across the country gathering at...
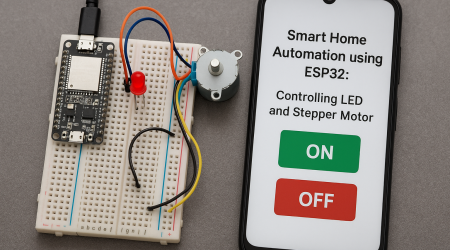
This project showcases the potential of ESP32 technology in smart home automation. By leveraging the WiFi capabilities of the ESP32 microcontroller, we can control an LED and a stepper motor remotely using a web page. This project demonstrates the basics of IoT (Internet of Things) and its applications...
Servo for RC models, isolated on white Piezoelectric buzzer isolated on white. Ultrasonic sensor module use to detect obstacles with micro controller on background isolated on white
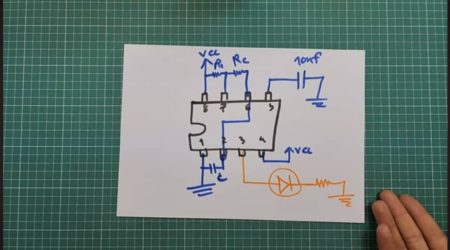
The NE555 Timer IC is one of the most popular and versatile integrated circuits in electronics. It operates in three distinct modes—astable, bistable, and monostable—making it perfect for building simple yet powerful timer-based circuits. In this article, we will explore three basic yet exciting projects using the NE555:...
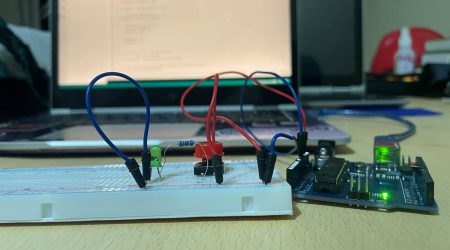
Welcome to another exciting tutorial from Aaenics Still on the linear electronics series, and if you’ve been following for a couple of weeks now, you’ll know we’ve been having a hands-on journey into basic electronics components and how they work together. Today in this simple but powerful tutorial,...