Restricted Zone Alarm using Arduino
In today’s world of smart systems and automation, security and safety remain key priorities. As part of our recent electronics project, we designed and built a Restricted Zone Alarm System that detects intrusions and alerts users through an audible buzzer and visual indicators. This system is simple, effective, and powered by an Arduino Uno microcontroller.
Objective
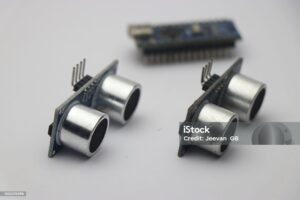
- Detect objects or people using an ultrasonic sensor
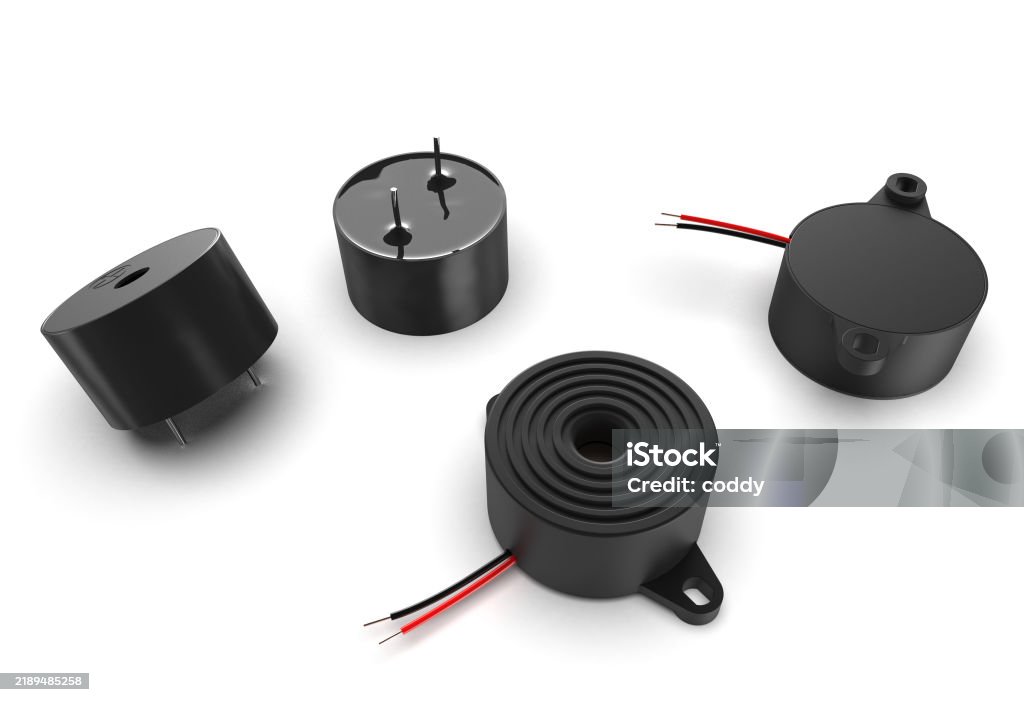
- Trigger a buzzer and LEDs to indicate intrusion
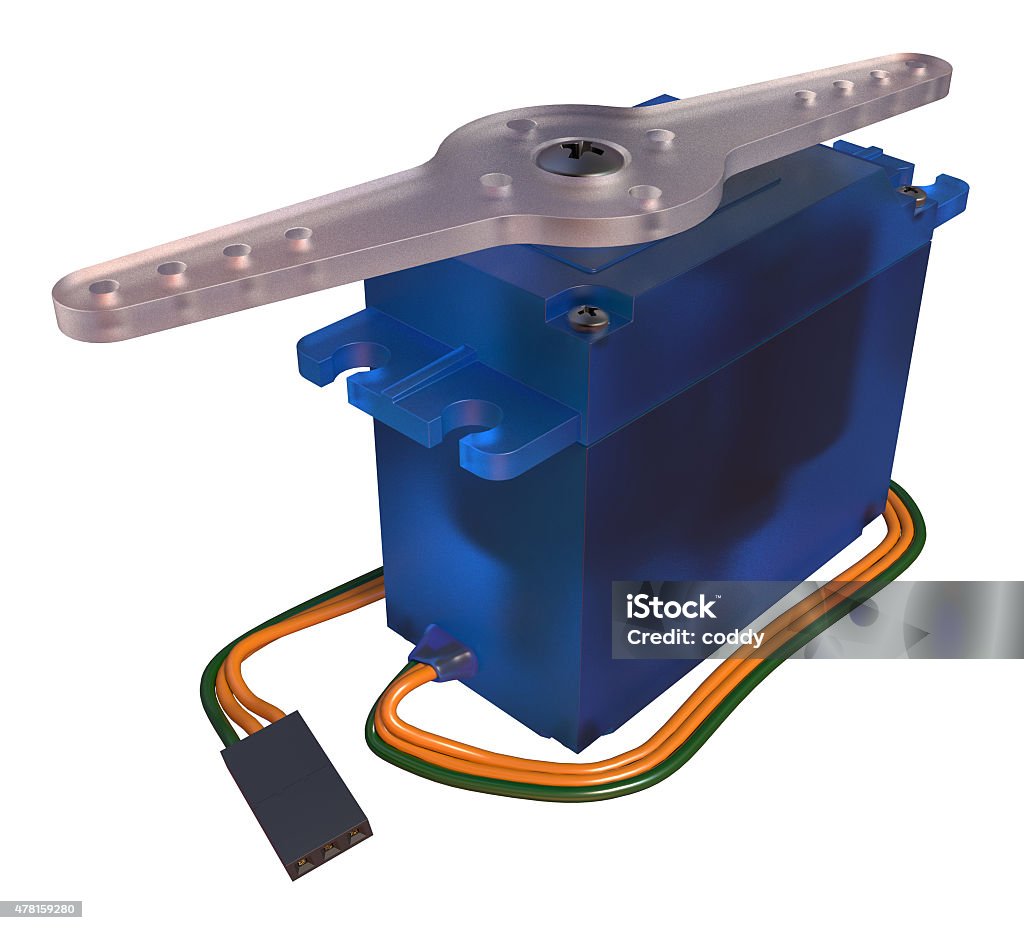
- Optionally control a servo motor for mechanical response
Building the Circuit
Below are the components and their respective connections:
| Component | Arduino Pin | Description |
|---|---|---|
| Ultrasonic Sensor (HC-SR04) - Trig | Digital Pin 6 | Sends ultrasonic pulse |
| Ultrasonic Sensor - Echo | Digital Pin 3 | Receives echo signal |
| Ultrasonic Sensor - VCC | 5V | Power supply |
| Ultrasonic Sensor - GND | GND | Ground |
| Servo Motor | Digital Pin 9 | Rotation control |
| Red LED | Digital Pin 8 | Intrusion indicator |
| Green LED | Digital Pin 10 | Safe indicator |
| Piezo Buzzer | Digital Pin 1 | Emits alarm sound |
Assembly Tips:
- Use a breadboard and jumper wires for testing.
- Include 220Ω resistors for LEDs.
- Double-check power and ground connections.
How It Works — Step by Step
- The servo sweeps from 0° to 180° to scan the area.
- The ultrasonic sensor measures distance at each angle.
- If an object is detected closer than 10cm, it triggers the alarm.
- Red LED and buzzer activate; green LED turns off.
- All data is printed to the Serial Monitor for tracking.
Arduino Code
#include <Servo.h>
const int trigPin = 6;
const int echoPin = 3;
const int servoPin = 9;
const int redLED = 8;
const int greenLED = 10;
const int buzzerPin = 1;

Servo radarServo;
int angle = 0;
bool sweepingForward = true;

void setup() {
  Serial.begin(9600);
  pinMode(trigPin, OUTPUT);
  pinMode(echoPin, INPUT);
  pinMode(redLED, OUTPUT);
  pinMode(greenLED, OUTPUT);
  pinMode(buzzerPin, OUTPUT);
  radarServo.attach(servoPin);
}

void loop() {
  radarServo.write(angle);
  delay(15);

  sweepingForward ? angle += 3 : angle -= 1;
  if (angle >= 180) sweepingForward = false;
  if (angle <= 0) sweepingForward = true;

  float distance = getDistance();
  Serial.print("Angle: "); Serial.print(angle);
  Serial.print(" | Distance: "); Serial.println(distance);

  if (distance < 10) {
    digitalWrite(redLED, HIGH);
    digitalWrite(greenLED, LOW);
    digitalWrite(buzzerPin, HIGH);
  } else {
    digitalWrite(redLED, LOW);
    digitalWrite(greenLED, HIGH);
    digitalWrite(buzzerPin, LOW);
  }

  delay(100);
}

float getDistance() {
  digitalWrite(trigPin, LOW); delayMicroseconds(2);
  digitalWrite(trigPin, HIGH); delayMicroseconds(10);
  digitalWrite(trigPin, LOW);
  long duration = pulseIn(echoPin, HIGH);
  return duration * 0.034 / 2;
}
Applications
- Restricted zones like server rooms or labs
- Smart door alert systems
- School corridors after hours
Future Improvements
- Send SMS or IoT-based alerts
- Add IR or camera modules for improved detection
- Create mobile app notifications
Conclusion
This project gave us practical experience in automation, sensor-based detection, and embedded systems. It shows how simple electronics can be used to create effective security solutions. Stay tuned — the demo video is coming up next!